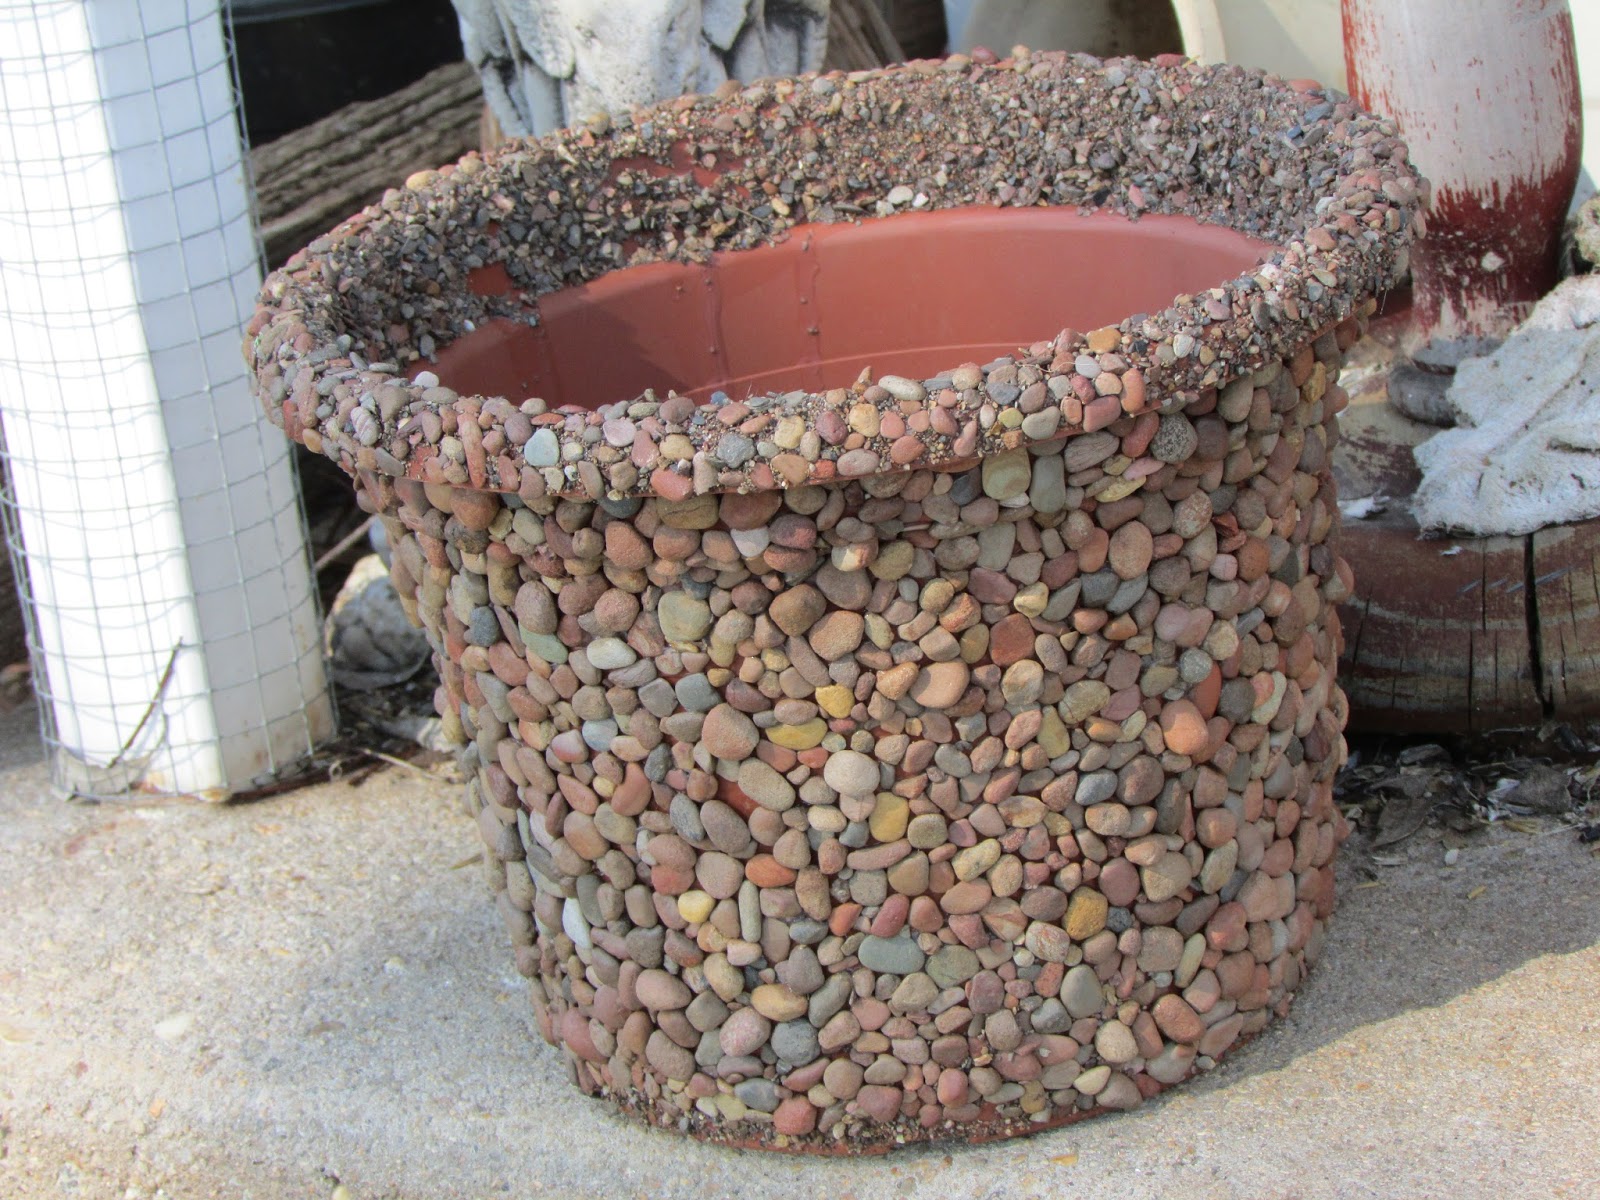
Large
Flower Pebble Pot
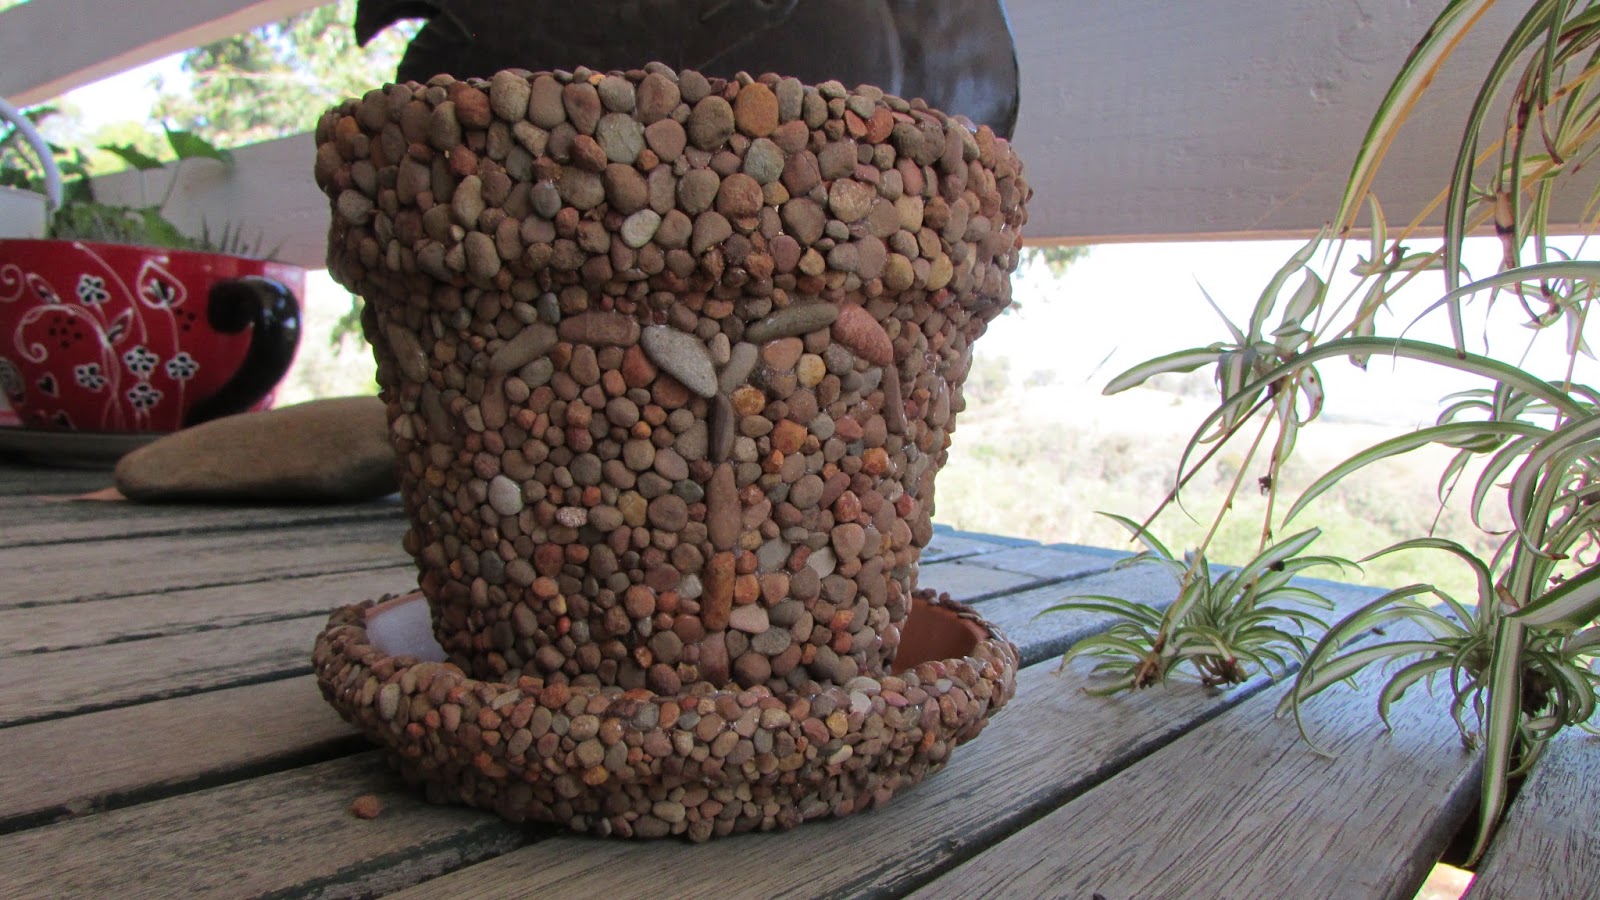
Finished project.
Pebbles to choose from ...
* Choose a range of pebbles (or whatever tesserae you wish to use)
and roughly shape your pebble flowers so that you can gain a perspective
as to the spacing of them around the exterior of the pot.
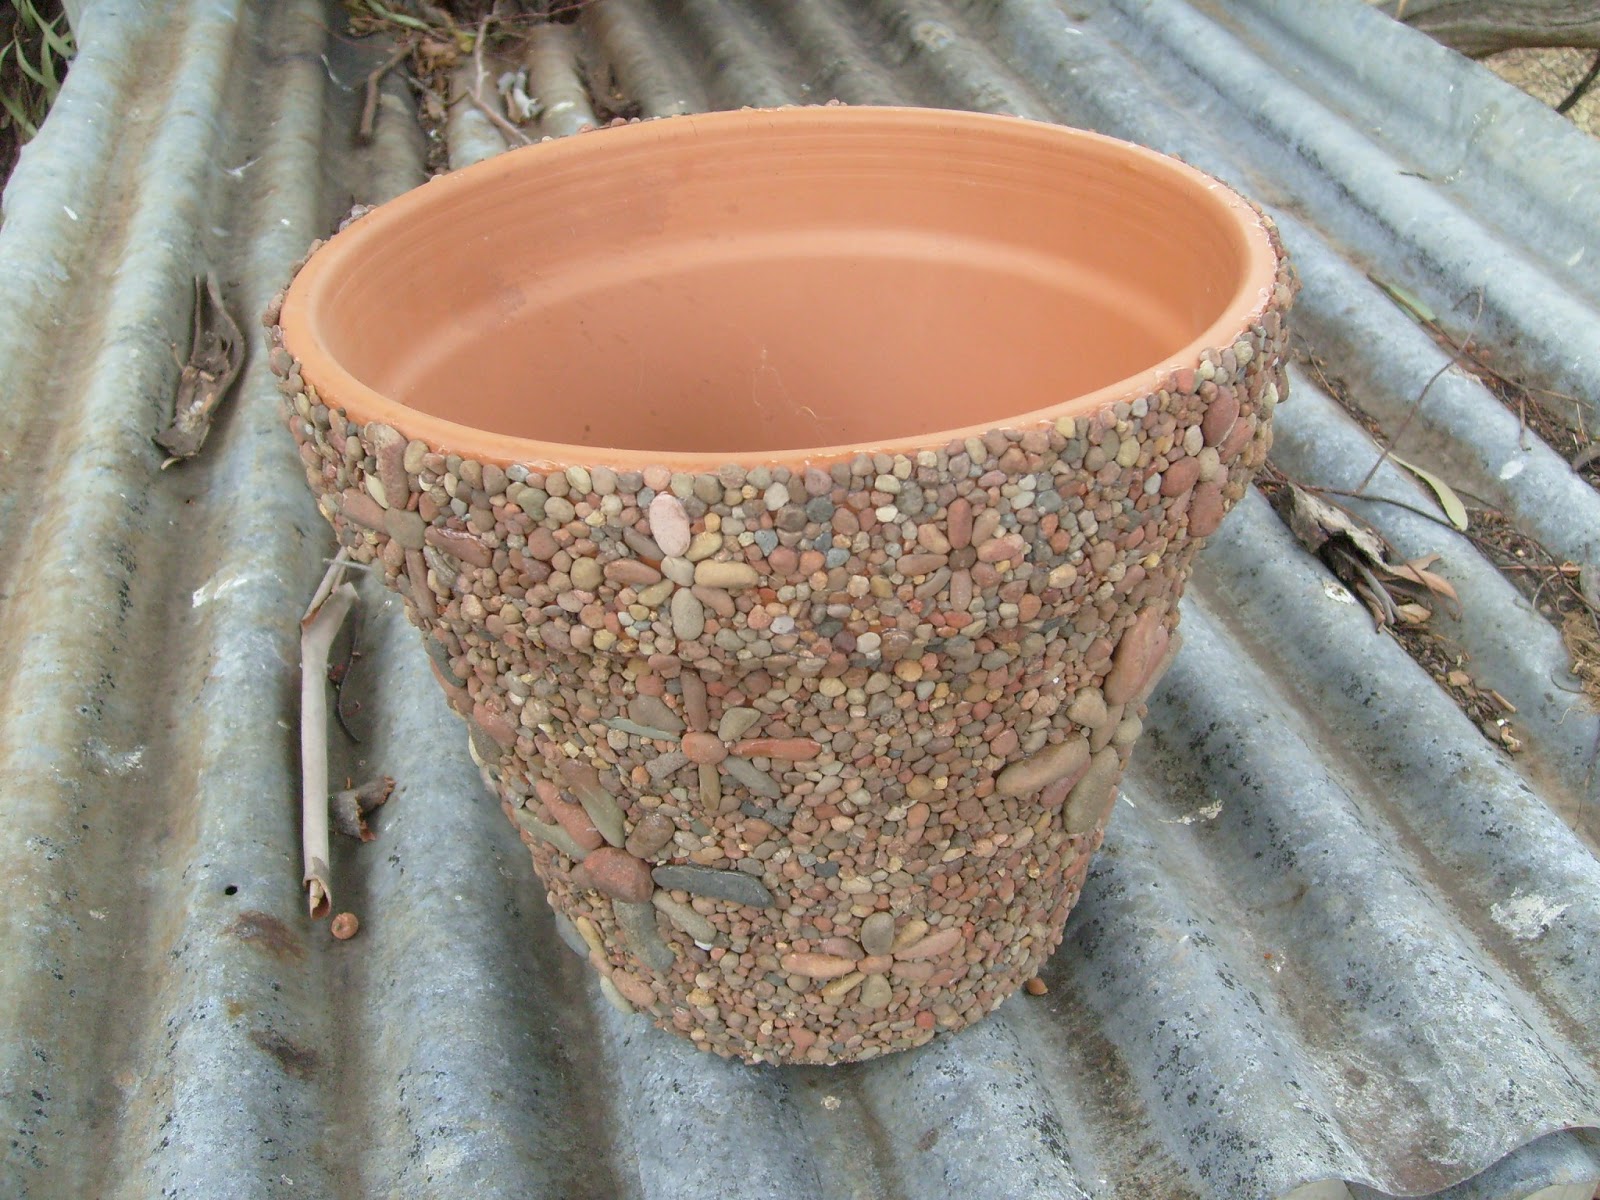
I have them placed randomly, with different sizes placed around the pot.
I used smaller pebbles to create the flowers bordering the top edge of the pot.

* Make sure that you choose pebbles that naturally slot in with the others.
You will develop a good eye with practice and time and may even find that
just the right little pebble will stand out from the others, as though it is meant to be.
* Once complete, allow the pot to dry fully. One to two days is ideal.
* Take a small amount of glue and mix it with water in a plastic bowl or tub.
Using a soft, clean paint or craft brush, stir and blend the solution until all the glue is dissolved and a weak, white liquid is achieved.
* Gently, yet liberally paint the glue solution into all the crevices between the pebbles, ensuring that every section of the entire pot is saturated.
Allow to dry for at least a day or two.
* Spray tile waterproofing spray all over the finished project,
making sure that you get it into all the tiny gaps between the pebbles.
Finished project :)
* All finished and ready to put to good use.
**