Small
PEBBLE POT

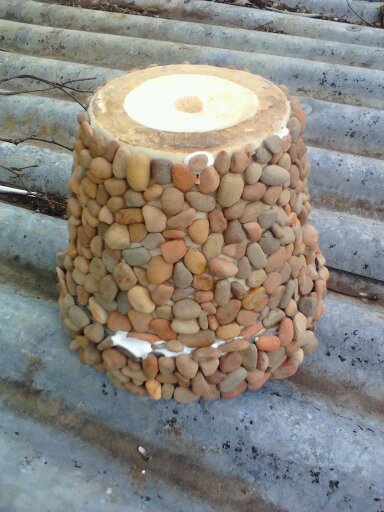
Finished project

Pebbles to use ...

Small plain ceramic pot
* I’ve had this plain little ceramic pot for years,
and decided that it needed a bit of a make-over.
I was after a quirky looking little pebble pot.

* Spread glue evenly, section by section as needed,
and place pebbles randomly as you see fit.
Beauty is in the eye of the beholder remember :)
* Allow to dry fully once all pebbles are placed.
until a white-coloured liquid is achieved.
* Gently brush this mixture all over the project,
making sure to fill all nooks and crannies between the pebbles.
Allow to dry - 1 to 2 days.
* Once dry, spray thoroughly with tile waterproofing spray and allow to dry.

* All done :)
**
No comments:
Post a Comment